Using Git Personal Access Tokens (PATs) is a secure and convenient way to authenticate with Git service providers. In this blog post, we will discuss how to use Git PATs on both Mac and CentOS 7 systems.
Generation a PAT#
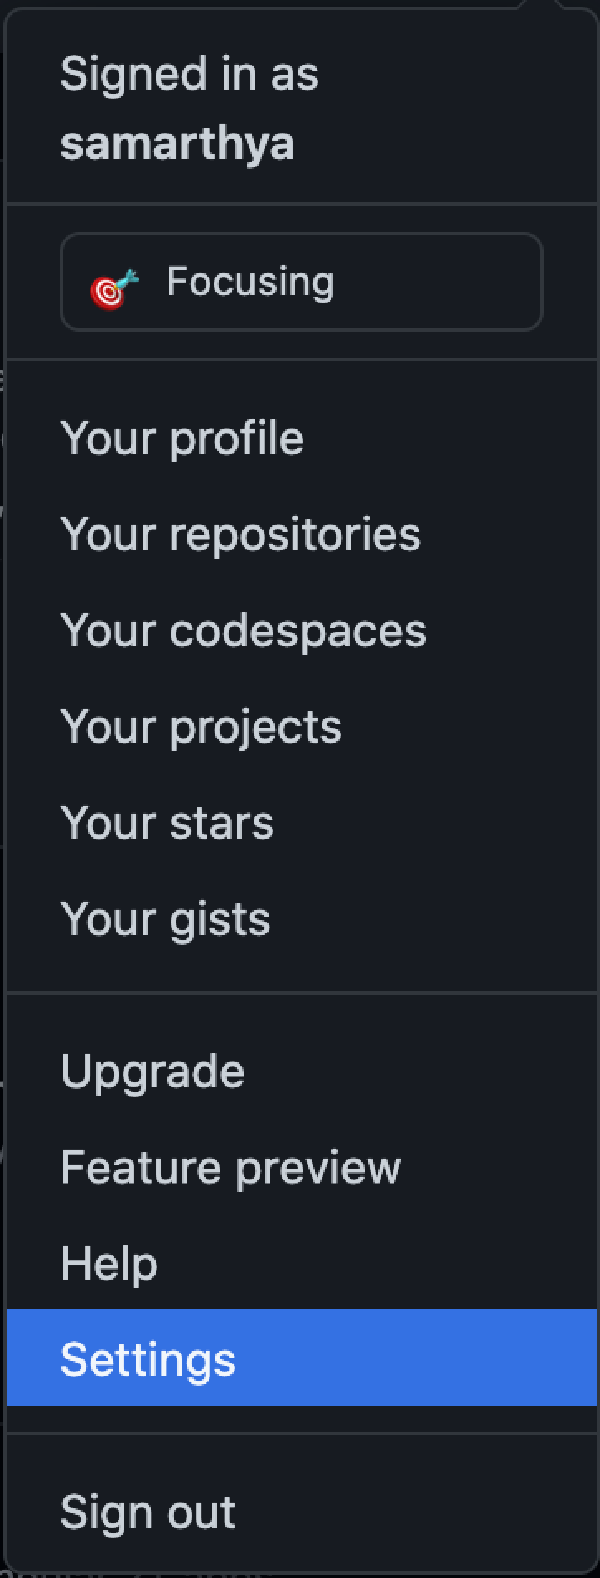
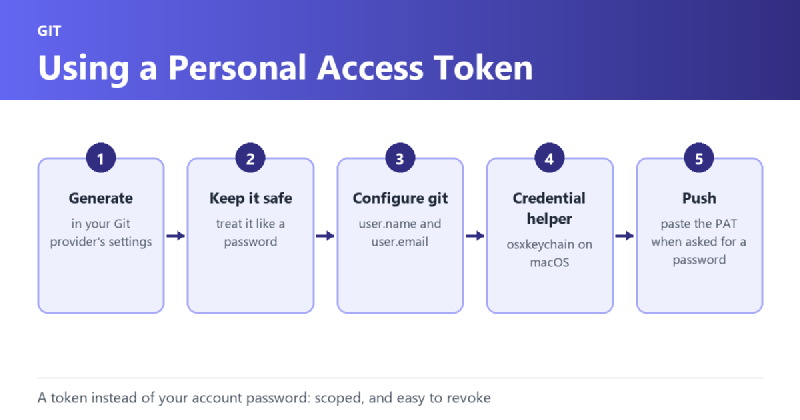
Before we begin, we need to generate a Personal Access Token from our Git service provider. The exact steps to generate a PAT may differ depending on the service provider, but usually, you can find the option to generate a PAT under your account settings.
Once you have generated your PAT, keep it safe as it will be used to authenticate with Git service providers.
Using on OSX#
To configure Git to use a PAT on a Mac, follow these steps:
- Open Terminal on your Mac.
- Set your Git username and email address using the following commands:
git config --global user.name "Your Name"git config --global user.email "youremail@example.com"
- Configure Git to use the PAT for authentication by running the following command:
git config --global credential.helper osxkeychain
- When you run any Git command that requires authentication, Git will prompt you for your username and PAT. Enter your Git username and PAT and select the “Always allow” option to store the credentials in the macOS Keychain.
Now, Git will automatically use the stored credentials when you run any Git command that requires authentication.
Using Git PAT on CentOS 7#
To configure Git to use a PAT on CentOS 7, follow these steps:
- Open the terminal on your CentOS 7 machine.
- Set your Git username and email address using the following commands:
git config --global user.name "Your Name"git config --global user.email "youremail@example.com"
- Configure Git to use the PAT for authentication by running the following command:
git config --global credential.helper store
- Create a new file named
.git-credentialsin your home directory using the following command:touch ~/.git-credentials
- Open the
.git-credentialsfile using a text editor and add the following lines:https://<git-service-provider>/username:personal-access-token- Replace
<git-service-provider>with the URL of your Git service provider (e.g. github.com, gitlab.com, bitbucket.org, etc.). - Replace
usernamewith your Git username. - Replace
personal-access-tokenwith the PAT that you generated earlier.
- Save and close the
.git-credentialsfile.
Now, when you run any Git command that requires authentication, Git will automatically use the PAT that you specified in the .git-credentials file.
Conclusion#
In this blog post, we discussed how to use Git Personal Access Tokens (PATs) on both Mac and CentOS 7 systems. By configuring Git to use PATs, we can authenticate securely with Git service providers and avoid the need to enter our username and password every time we use Git.