
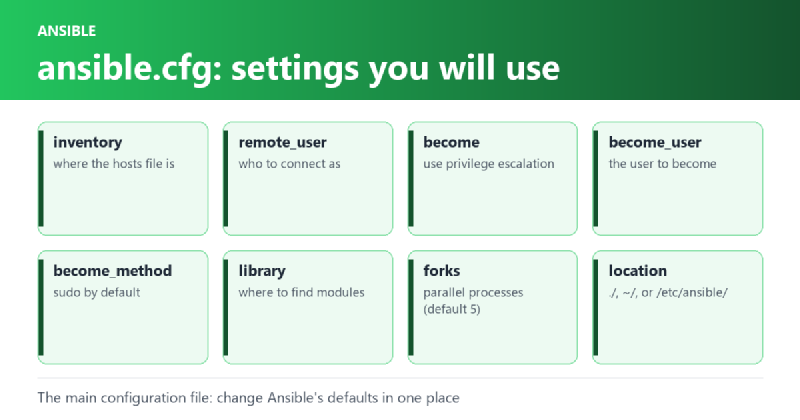
ansible.cfg is the main configuration file for Ansible. It is used to customize Ansible’s behavior and includes a wide range of options, including the location of inventory files, the default SSH user, and the path to the module library.
The file can be placed in various locations, such as the current directory, user’s home directory, /etc/ansible/, and /etc/ansible/conf.d/.
Here are some frequently used properties in ansible.cfg:
inventory: This specifies the location of the inventory file. By default, Ansible looks for an inventory file at/etc/ansible/hosts.remote_user: This specifies the default remote user to use when running Ansible commands. By default, this is set to the current user.become: This specifies whether to use privilege escalation or not. If set totrue, Ansible will attempt to elevate privileges usingsudoorsu.become_user: This specifies the user to become when using privilege escalation.become_method: This specifies the method to use for privilege escalation. The default issudo.module_name_mapper: This allows you to specify a custom mapping of module names to file names.library: This specifies the directory where Ansible looks for modules. By default, Ansible looks for modules in/usr/share/ansible/.forks: This specifies the maximum number of parallel processes to use when executing tasks. The default is 5.gathering: This specifies the method for gathering facts. By default, it is set tosmart.fact_caching: This specifies whether to use fact caching or not. Fact caching can improve performance by caching facts between playbook runs.
Here’s an example ansible.cfg file:
[defaults]
inventory = /etc/ansible/hosts
remote_user = ansible
become = true
become_user = root
module_name_mapper = custom_module_name_mapper
library = /usr/local/lib/ansible/modules
forks = 10
gathering = smart
fact_caching = redis
fact_caching_timeout = 300
In this example, we’ve specified the inventory file location, set the default remote user to ansible, enabled privilege escalation, set the privilege escalation user to root, specified a custom module name mapper, set the module library location to /usr/local/lib/ansible/modules, increased the maximum number of forks to 10, set the fact gathering method to smart, and enabled fact caching with a timeout of 300 seconds.
Overall, ansible.cfg provides a lot of flexibility in configuring Ansible’s behavior to suit your needs.